Assembling Your Multi-Layer Chocolate Cake: Detailed Guide
- Category: Chocolate Recipes
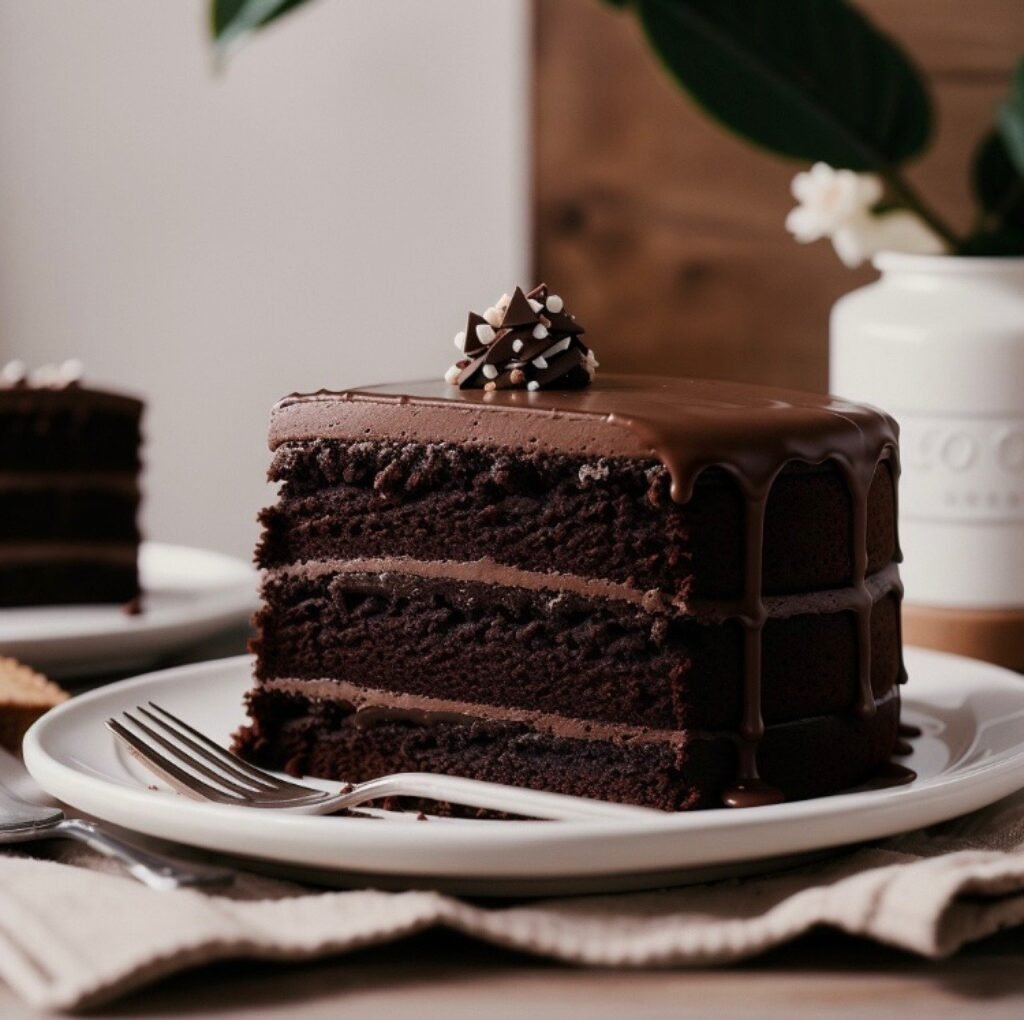
How to Make a 2 (or More) Layer Chocolate Cake at Home: The Ultimate Decadent Masterpiece
From my childhood I have always wondered how a multi layer Chocolate Cake is made. Because they never mixed with each other. The towering desserts, with their smooth frosting and perfect layers, seemed like magic. I watched the ads on tv how they made them. I think you also wanna know how they’re made. So here is the ultimate recipe with the most detailed information you need to know. So let start with the ingredients:
Ingredients: The Building Blocks of a Perfect Chocolate Cake
Dry Ingredients
All-Purpose Flour:
- Function: Provides the structure of the Chocolate cake.
- Alternative: For a softer texture, you can use cake flour, but this recipe will be based on all-purpose flour for a reliable, sturdy cake that holds up to layering.
Cocoa Powder:
- Type: Use unsweetened cocoa powder for a classic chocolate flavor. Dutch-processed cocoa powder will give a richer and deeper chocolate taste compared to natural cocoa powder.
- Tip: Always sift cocoa powder to avoid clumps in your batter.
Baking Powder and Baking Soda:
- Function: These leavening agents work together to help the Chocolate cake rise and create a fluffy texture. Baking soda reacts with acidic ingredients like buttermilk to create airiness, while baking powder ensures even rise.
Salt:
- Purpose: Enhances the overall flavor of the Chocolate cake and balances the sweetness. Don’t skip this essential ingredient!
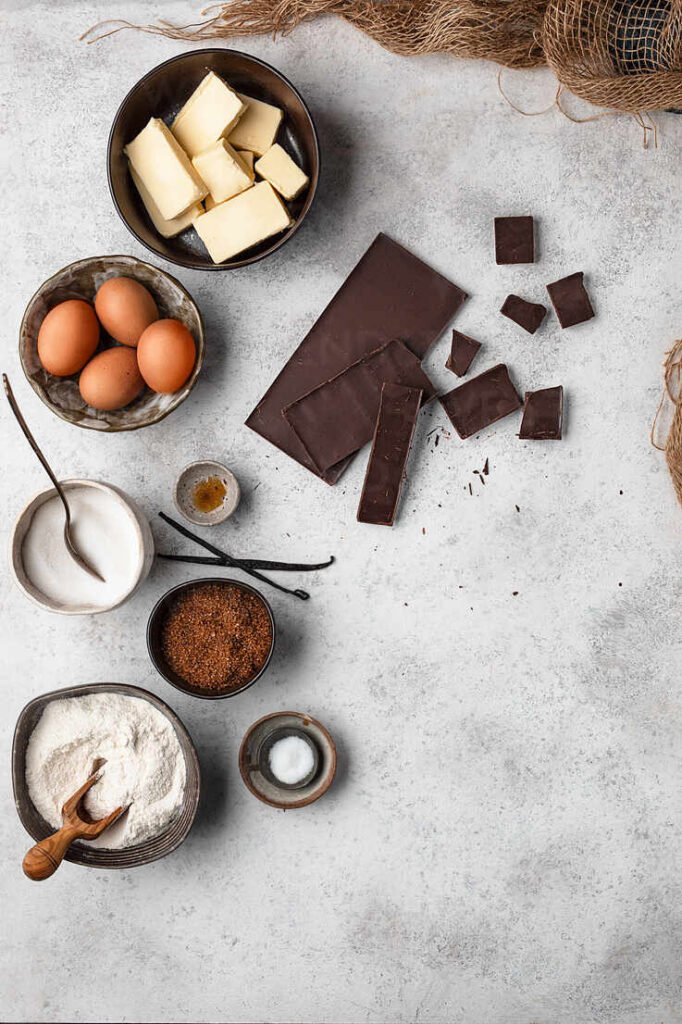
Wet Ingredients
Granulated Sugar:
- Role: Sweetens the Chocolate cake and provides moisture by drawing liquid into the batter.
- Brown Sugar: Using brown sugar alongside granulated sugar adds a hint of molasses and keeps the Chocolate cake extra moist.
Eggs:
- Why Room Temperature: Eggs at room temperature mix more evenly into the batter and help it rise properly. They act as a binding agent and provide richness to the Chocolate cake.
Buttermilk:
- Substitute: If you don’t have buttermilk, you can make a substitute by adding 1 tablespoon of lemon juice or vinegar to 1 cup of milk and letting it sit for 5 minutes.
- Purpose: The acidity in buttermilk breaks down gluten, yielding a tender, moist cake with a slightly tangy flavor.
Vegetable Oil:
- Reason for Use: Keeps the Chocolate cake moist and soft even when refrigerated. You can use canola oil or any neutral oil.
- Alternative: Melted coconut oil can be used for a slight coconut flavor.
Vanilla Extract:
- Function: Adds a subtle but important depth of flavor that complements the chocolate.
Brewed Coffee:
- Why Coffee?: It intensifies the chocolate flavor without adding a strong coffee taste. The cake will not taste like coffee, but it will taste more chocolatey. Use warm, freshly brewed coffee for the best results.
- Alternative: Hot water can be used if you prefer not to use coffee.
Step-by-Step Guide to Making Your Chocolate Cake
1. Prepare Your Workspace
- Preheat the Oven: Set your oven to 350°F (175°C) to ensure it’s at the right temperature when you’re ready to bake.
- Prepare Your Cake Pans:
- Grease two 9-inch round cake pans thoroughly with butter or non-stick spray.
- Parchment Paper: Cut parchment paper circles to fit the bottoms of your pans and place them inside. Grease the parchment paper and lightly dust the sides of the pans with cocoa powder to prevent sticking.
- Tip: Using cocoa powder instead of flour for dusting keeps the cake’s color deep and chocolatey.
2. Mix the Dry Ingredients
- In a large mixing bowl, sift together:
- 2 ¾ cups all-purpose flour
- 1 cup unsweetened cocoa powder
- 2 teaspoons baking powder
- 1 ½ teaspoons baking soda
- 1 teaspoon salt
- Sifting: Sifting helps remove any lumps in the cocoa powder and evenly distributes the leavening agents, ensuring a uniform texture.
3. Prepare the Wet Ingredients
- In a separate large mixing bowl, combine:
- 1 ½ cups granulated sugar
- 1 cup packed brown sugar
- Add the Eggs: Crack in 3 large eggs, one at a time, beating well after each addition. This step incorporates air, making the cake lighter.
- Add the Oil and Vanilla: Pour in ¾ cup vegetable oil and 2 teaspoons of pure vanilla extract. Beat until the mixture is smooth and emulsified.
- Mix in the Buttermilk: Add 1 cup of buttermilk, mixing on a low speed until just combined. The buttermilk will react with the baking soda to tenderize the cake.
4. Combine Wet and Dry Ingredients
- Gradually Add the Dry Ingredients: Slowly add the dry ingredient mixture to the wet ingredients in three parts, alternating with 1 cup of warm brewed coffee. Start and end with the dry ingredients. Mix on low speed to avoid overmixing.
- Batter Consistency: The batter will be thin, which is normal. A thinner batter leads to a moist, tender cake.
Baking the Cake Layers
- Divide the Batter Evenly: Use a kitchen scale or a measuring cup to ensure equal amounts of batter in each pan. This helps the layers bake evenly and rise to the same height.
- Bake: Place the pans in the oven and bake for 30-35 minutes. Check for doneness by inserting a toothpick into the center; it should come out clean or with a few moist crumbs.
- Cool the Cakes: Let the Chocolate cakes cool in the pans for 10-15 minutes. Run a knife around the edges to loosen them, then carefully invert the cakes onto a wire rack to cool completely. It’s crucial to let them cool fully before frosting to prevent melting.
Making Chocolate Buttercream Frosting
Ingredients for the Frosting
- 1 ½ cups unsalted butter, softened
- 4 ½ cups powdered sugar, sifted
- ¾ cup unsweetened cocoa powder
- ½ cup heavy cream, room temperature
- 2 teaspoons vanilla extract
- Pinch of salt
Method for Making Frosting
- Cream the Butter: In a large bowl, beat the softened butter with an electric mixer on medium speed until light and fluffy (about 3-4 minutes).
- Add the Dry Ingredients: Gradually add the powdered sugar and cocoa powder, mixing on low speed to avoid a sugar storm.
- Incorporate Cream and Vanilla: Pour in the heavy cream and vanilla extract, then increase the speed to medium-high and beat until the frosting is fluffy and spreadable. If the frosting is too thick, add more cream, 1 tablespoon at a time. If too thin, add more powdered sugar.
- Adjust Flavor: Taste and add a pinch of salt to balance the sweetness.
Assembling the Cake: The Art of Layering
Step 1: Level the Cake Layers
- Use a Serrated Knife: If the tops of the cakes have domed, use a long serrated knife or a cake leveler to trim them and create flat, even surfaces. This helps the layers stack evenly.
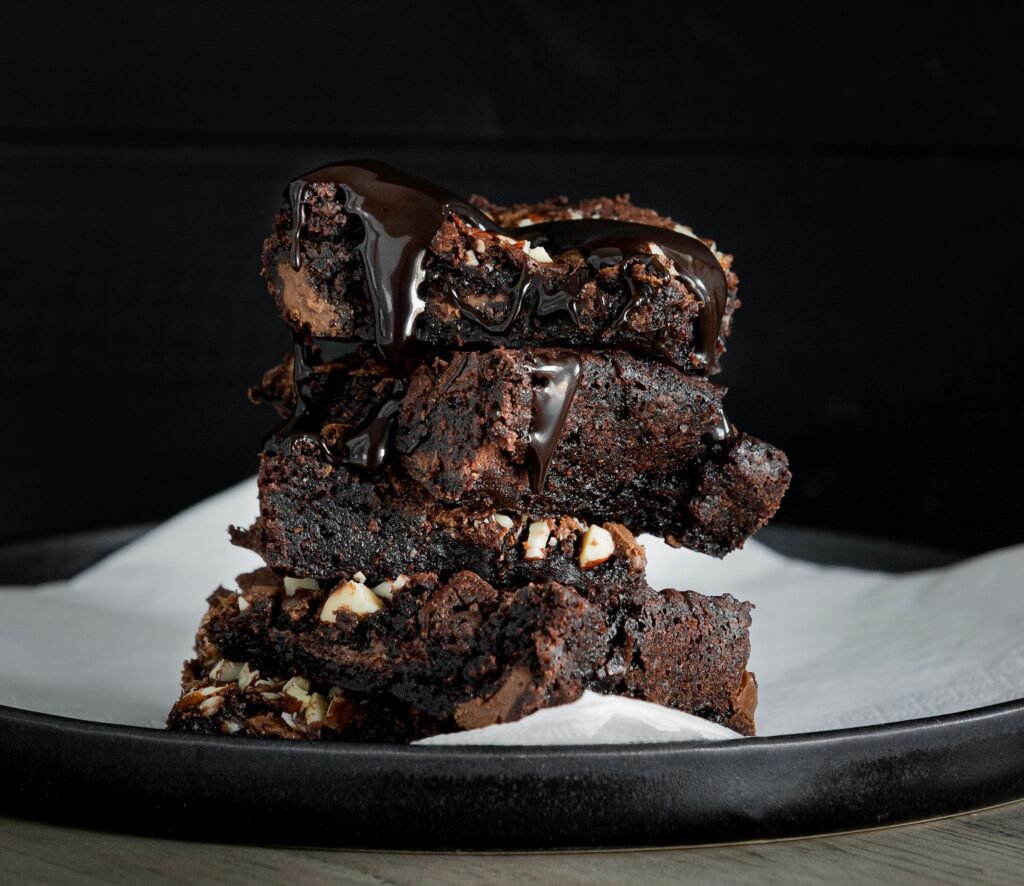
- Save the Scraps: The trimmed cake pieces can be used to make cake pops or as a snack!
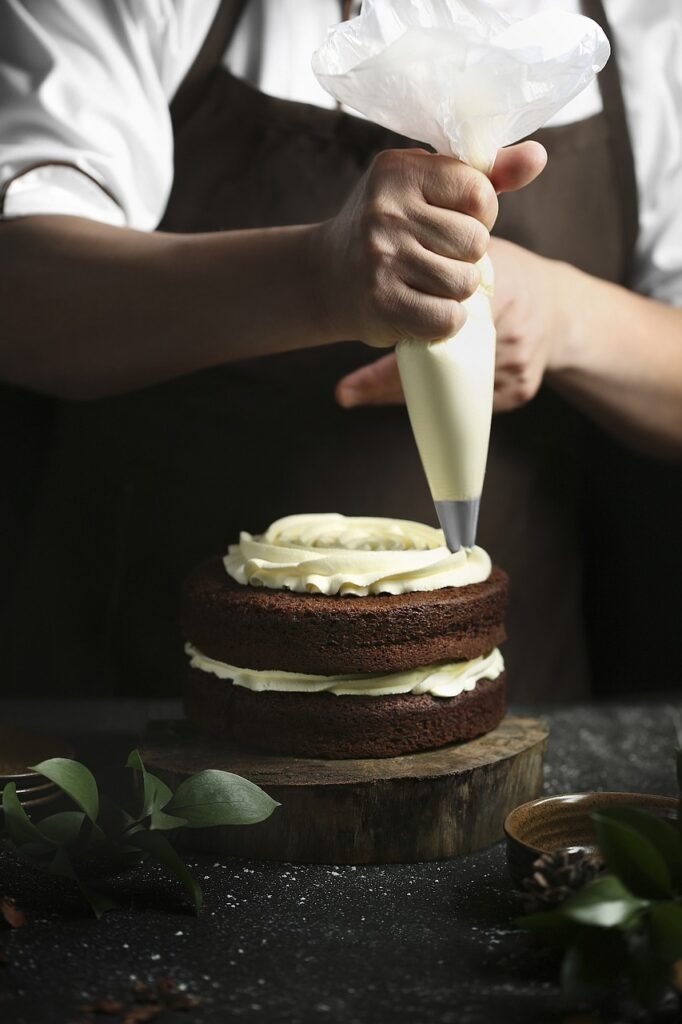
Step 2: Build the Cake Layers
- Start with a Dollop of Frosting: Place a small amount of frosting on your chocolate cake stand or plate to act as glue for the first layer.
- Place the First Chocolate Cake Layer: Center the first cake layer on the stand, and use an offset spatula to spread a generous amount of frosting on top.
- Add the Second Layer: Carefully place the second layer on top, pressing down gently to secure. Make sure it is centered and level.
- For More Layers: If you’re making a three or four-layer cake, repeat the frosting and stacking process.
Step 3: Apply a Crumb Coat
- What’s a Crumb Coat?: A crumb coat is a thin layer of frosting that traps any loose crumbs and provides a smooth base for the final layer of frosting.
- Technique: Spread a thin layer of frosting over the entire cake, using an offset spatula to smooth it out. Refrigerate for 20-30 minutes to set.
Step 4: Frost the Cake
- Final Layer of Frosting: Apply a thick layer of frosting on top of the crumb coat. Use a bench scraper to smooth the sides and an offset spatula for the top.
- Textured or Smooth Finish: For a rustic look, use the spatula to create swirls. For a polished look, smooth the frosting with a bench scraper.
Decorating Your Cake: Ideas and Techniques
- Chocolate Ganache Drip: Make a simple ganache by melting equal parts of heavy cream and chocolate. Let it cool slightly, then pour over the top, allowing it to drip down the sides.
- Chocolate Curls and Shavings: Use a vegetable peeler to make chocolate curls, or grate chocolate for shavings.
- Fresh Berries: Top the cake with fresh strawberries, raspberries, or cherries for a burst of color and flavor.
- Edible Flowers: Use food-safe flowers to add elegance to your cake.
- Sprinkles or Metallic Edible Paint: For a fun and festive look, add colorful sprinkles or brush on edible metallic paint.
Storage Tips
- Room Temperature: If the cake will be eaten within 2-3 days, store it in an airtight container at room temperature.
- Refrigeration: For longer storage, keep the cake in the refrigerator for up to a week. Bring it to room temperature before serving to enjoy the best texture.
- Freezing: The cake layers can be wrapped in plastic wrap and frozen for up to 3 months. Thaw overnight in the fridge before assembling.
Troubleshooting Common Cake Issues
- Cake Sinking in the Middle: This can happen if the oven door is opened too early or if the batter was overmixed. Make sure to use a gentle mixing technique and avoid disturbing the chocolate cake while baking.
- Dry Cake: Overbaking is the main culprit. Check the cake a few minutes before the recommended baking time to prevent dryness.
- Crumbly Layers: This can be due to not enough liquid in the batter or overbaking. Make sure your measurements are accurate.
Conclusion
Making a multi-layer chocolate cake at home doesn’t have to be daunting. With the right ingredients, techniques, and a bit of patience, you’ll be able to create a stunning, delicious cake that rivals any bakery. Whether it’s a simple two-layer cake or an extravagant four-layer celebration, this guide has you covered. Happy baking, and enjoy every chocolatey bite!
Feel free to share your cake photos or ask questions if you need more help. Enjoy your homemade masterpiece!