How to Make Chocolates: A Complete Guide
- Category: Chocolate Recipes
5 Unstoppable Steps to Crafting Incredible Homemade Chocolates
Who doesn’t love chocolates? Its rich, creamy, and decadent flavor is a universal treat. But have you ever thought about making it yourself? Homemade chocolates aren’t just fun to create but also allow you to customize every aspect—flavors, textures, and even shapes! Let’s dive into the delicious art of chocolate-making.
Understanding Chocolate Basics
What Is Chocolate Made Of?
Chocolate starts with cacao beans, which are processed into cocoa mass, cocoa butter, and cocoa powder. These components combine with sugar and milk (for milk chocolate) to create the sweet treat we love.
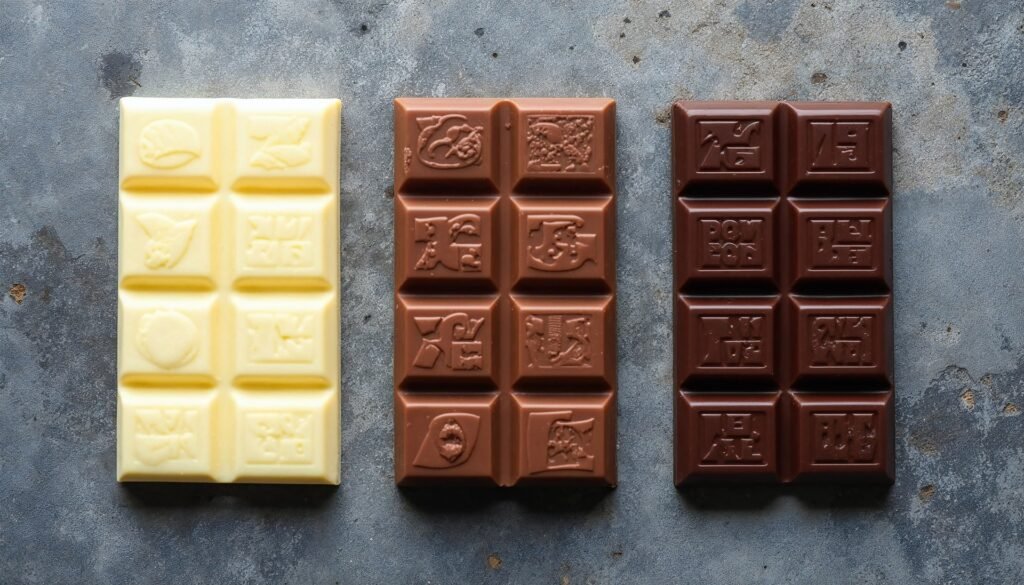
Types of Chocolate: Dark, Milk, and White
- Dark Chocolate: Rich in cocoa with minimal sugar, perfect for intense flavors.
- Milk Chocolate: Creamy and sweet, thanks to added milk solids.
- White Chocolate: Made with cocoa butter, sugar, and milk solids—no cocoa mass, making it milder.

Estimated Time Required for Each Step
Making chocolates requires patience, but with proper timing, you can achieve excellent results. Here’s a breakdown of the estimated time needed for each step:
| Step | Time Required |
|---|---|
| Preparing Workspace | 10–15 minutes |
| Melting the Chocolate | 5–10 minutes |
| Tempering Chocolate | 15–20 minutes |
| Molding the Chocolate | 10–15 minutes |
| Adding Fillings/Toppings | 5–10 minutes |
| Cooling and Setting | 1–2 hours (depending on conditions) |
Essential Tools and Ingredients
Tools You’ll Need for Making Chocolates
- Mixing bowls
- Silicone molds
- Spatulas
- Double boiler or microwave-safe container
- Candy thermometer
Key Ingredients for Perfect Chocolates
- High-quality chocolate (couverture works best)
- Fillings like nuts, caramel, or fruit purees
- Flavor extracts (vanilla, peppermint, etc.)

Step-by-Step Guide to Making Chocolate
Choose Your Chocolate: Select high-quality chocolate for the best results. You can go with dark, milk, or white chocolate based on your preference. If you’re feeling adventurous, try mixing them for a unique flavor.
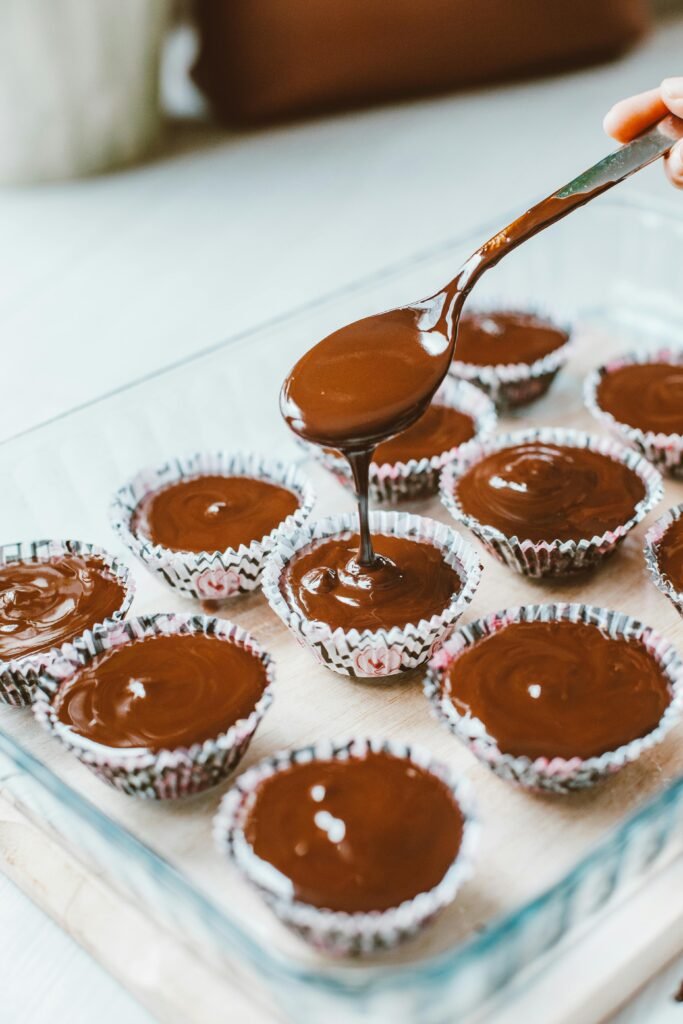
Melt the Chocolate: Use a double boiler or microwave to melt the chocolate. For a double boiler, place your chocolate in a heatproof bowl over simmering water, stirring gently until smooth. In the microwave, heat the chocolate in short bursts, stirring between each interval to avoid burning.
Temper the Chocolate: For a glossy finish and perfect snap, tempering is key. If you have a thermometer, cool the melted chocolate to about 82°F (28°C) and then reheat it to 88°F (31°C) for dark chocolate, or 84°F (29°C) for milk and white chocolate. If you don’t have a thermometer, just melt two-thirds of your chocolate and add the remaining one-third to cool it down.
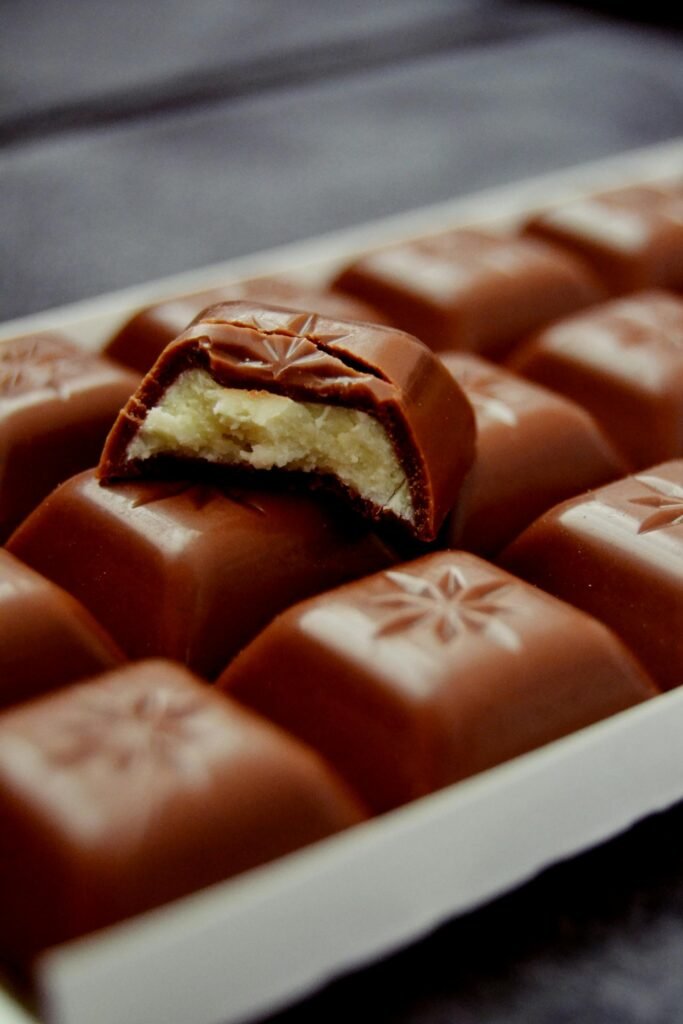
Fill Your Molds: Pour the tempered chocolate into your molds, tapping them gently to remove air bubbles. If you’re adding fillings, fill the molds halfway, add your desired fillings, and then top off with more chocolate.
Chill and Set: Place the filled molds in the refrigerator for about 15-20 minutes until the chocolate is completely set. Once they’re firm, pop them out of the molds and admire your creations!
Enjoy and Share: Your homemade chocolates are now ready to enjoy! They make great gifts for friends and family, or you can keep them all for yourself – we won’t tell!
Troubleshooting Common Issues
- Lumpy Chocolate? Melt it slowly and stir constantly.
- Bloom (White Coating)? Improper tempering or moisture can cause this. Temper again or store in a dry place.
FAQs
1. Why Does My Chocolate Harden Too Quickly?
It might be cooling too fast. Use a room-temperature environment for better control.
2. Can I Use Non-Dairy Milk in Chocolates?
Yes, coconut or almond milk works well, though the texture might differ slightly.
3. How Long Do Homemade Chocolates Last?
When stored properly, they can last up to two weeks.
4. What Is the Best Way to Avoid Chocolate Bloom?
Proper tempering and dry storage conditions prevent bloom.
5. Is Homemade Chocolate Healthier Than Store-Bought?
Absolutely! You control the sugar, fats, and additives, making them a healthier option.

Making chocolates at home is a delightful experience that combines creativity and deliciousness. Whether you’re crafting them for a special occasion or just indulging your sweet tooth, homemade chocolates are a treat worth mastering.
